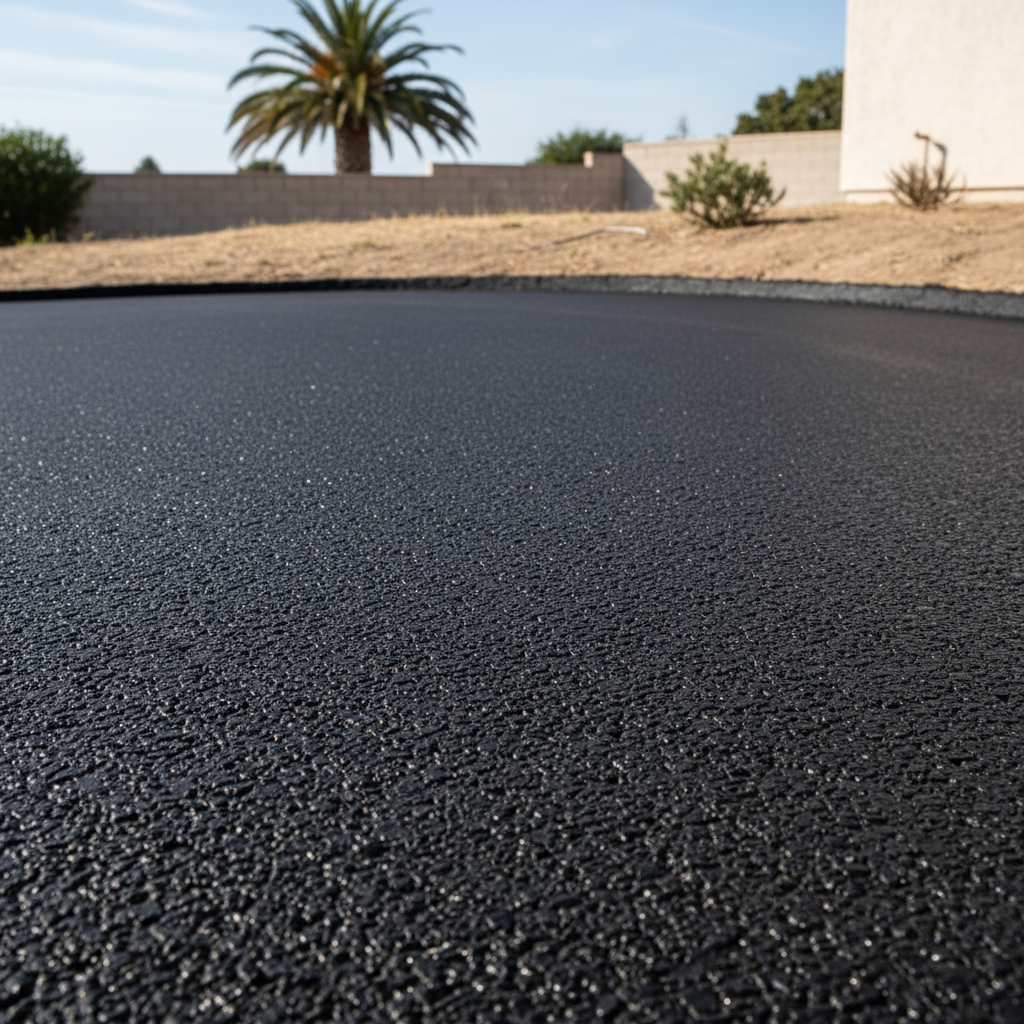
Alright, let's talk about asphalt. Specifically, what folks often call 'commercial grade' asphalt, even when it's for their home. You might be thinking, "Commercial? For my house?" And yeah, that's a fair question. But the truth is, sometimes the same heavy-duty stuff we use for parking lots and industrial zones is exactly what you need for a long-lasting, durable driveway here in Huntington Beach.
Before You Start: Planning & Prep
First things first, don't just jump into this. A good asphalt job starts with solid planning. You've got to figure out what you're actually paving. Is it a long driveway? A larger pad for RV parking? The size and how you plan to use it will dictate a lot about the materials and process.
Here's what you need to think about before you even call someone like me:
- Drainage: This is huge, especially with our occasional heavy rains. Water needs to go somewhere. You don't want it pooling on your new asphalt or, worse, running into your garage or eroding your foundation. Think about the slope of your property.
- Sub-base: The foundation beneath your asphalt is just as important as the asphalt itself. You can have the best asphalt in the world, but if the ground underneath isn't prepped right, it'll fail. We often deal with sandy soil here in HB, which can be tricky. It needs proper compaction and a good aggregate base.
- Permits: Depending on the size and location of your project, you might need a permit from the city. Don't skip this step. Trust me, it's easier to get it right upfront than deal with fines or having to tear it out later.
What can you do yourself here? You can certainly measure out your area, mark where you want things to go, and even do some initial clearing of debris. You can also research local permit requirements. But when it comes to grading, establishing proper drainage, and laying down a compacted sub-base, that's usually where you'll want to call in a professional. We've got the heavy equipment and the know-how to get that foundation right.
During the Project: What to Expect
Once you've got a plan and a contractor (hopefully Classic Asphalt Solutions!), the real work begins. This isn't a quick weekend DIY project, not if you want it done right.
Here's a general rundown:
- Excavation: We'll remove any existing material – old concrete, dirt, whatever's there – to the proper depth.
- Grading & Base Installation: This is where we shape the ground for drainage and lay down that crucial aggregate base. We compact it in layers. This step is non-negotiable for longevity.
- Asphalt Paving: Hot asphalt mix gets delivered and laid down with specialized equipment. It's then compacted with heavy rollers to achieve the right density and smoothness. This isn't something you can do with a shovel and a hand tamper. The temperature of the asphalt and the speed of compaction are critical.
During this phase, your role is mostly supervisory and communicative. Ask questions, make sure you understand what's happening. Stay off the fresh asphalt! It needs time to cure and harden.
After the Project: Maintenance for Longevity
So, you've got a beautiful new asphalt surface. Great! Now, how do you keep it looking good and lasting for decades? Maintenance, that's how.
Here's what you need to do:
- Give it Time: For the first few days, maybe even a week, try to keep heavy vehicles off it. The asphalt is still curing. Avoid turning your wheels sharply in one spot, especially in hot weather.
- Keep it Clean: Sweep off dirt, leaves, and debris regularly. Don't let oil or gas spills sit. They'll degrade the asphalt over time. Clean them up quickly with an absorbent material and a mild detergent.
- Sealcoating: This is probably the most important maintenance step. Sealcoating protects your asphalt from UV rays, water penetration, and oxidation. For a residential driveway, I usually recommend sealcoating every 2-3 years, depending on traffic and sun exposure. You can buy DIY sealcoat kits, but for a large area, or if you want a professional finish, it's often better to have us do it. We use commercial-grade sealants and have the equipment to apply it evenly.
- Crack Filling: Small cracks will inevitably appear over time. That's normal. Address them quickly! Water getting into cracks and freezing (not a huge issue here in HB, but rain still causes damage) or expanding soil can turn a small crack into a big pothole fast. You can buy crack filler at hardware stores for minor cracks, but for anything significant, or if you're unsure, call us.
Look, a well-installed and maintained asphalt surface can last 20 years or more. But it's not a 'set it and forget it' kind of deal. A little attention goes a long way in protecting your investment.